Shop Air System
With the installation of the Blast Cabinet it became apparent that my old 20 gallon oiless air compressor wasn't going to cut the mustard any more. It could only run the cabinet about 30 seconds at a time, and notwithstanding being built into the wall, it was really, really loud. A couple of times it gave me a heart attack when it kicked in.
It was going to have to be replaced with a real compressor capable of driving any of my air tools at 100% duty cycle. Power could be 220V single phase as I had space in the electrical panel for a 220V breaker. And while I was prepared to pay for what I was getting, neither was I prepared to drop upwards of $2k for the compressor either.
Much research followed. The big-box store 60-80 gallon compressors weren't going to cut it, as they only deliver ~11 SCFM @ 90 PSI. I wanted something that could deliver on the order of 16-18 SCFM @ 90 PSI.
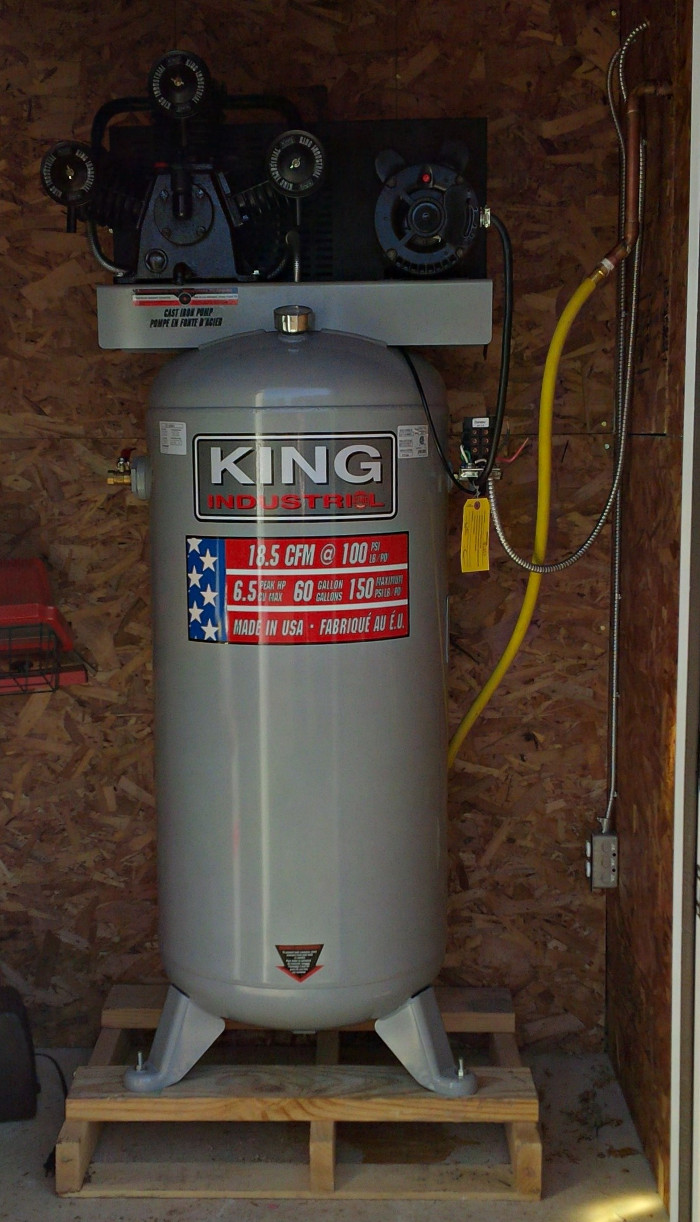
The model I decided on was the King Canada KC-5160V1. This is a 6.5HP, 220V single-phase, single-stage compressor rated at 18.5 SCFM. It has a 3-cylinder cast-iron pump, and not only does it do the business (I can run the blast cabinet flat out and it never drops below 90 PSI, even with the compressor running) it is also very much quieter than the old oiless compressor - so much so that I can barely hear it running inside the shop.
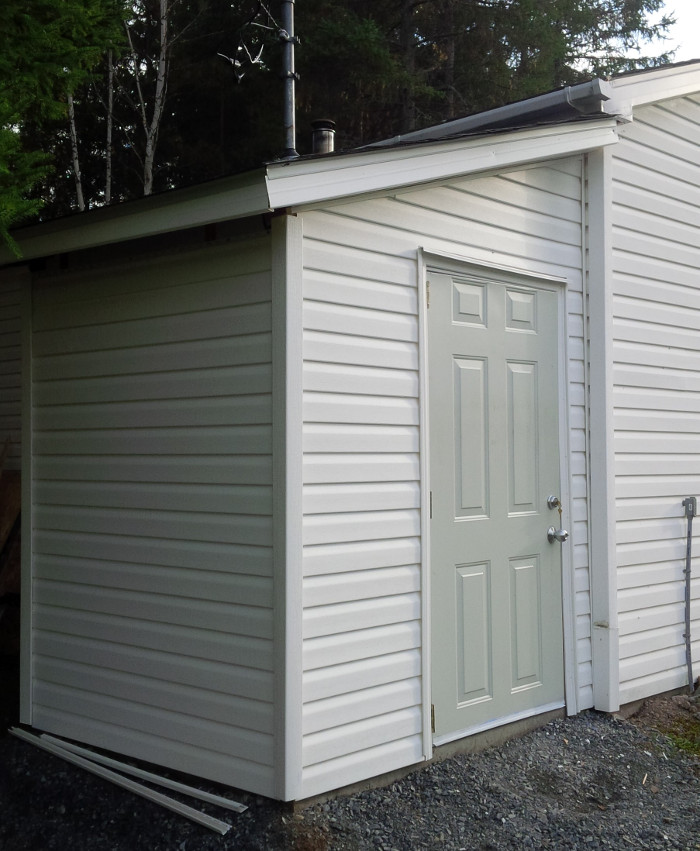
It was, however, too big to keep inside the shop - not if I wanted my Welding Bay - so I had to build an external shed to house it.
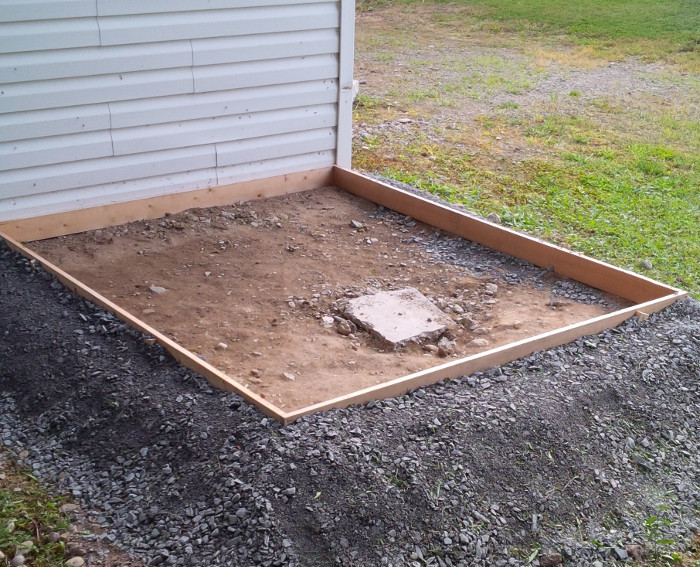
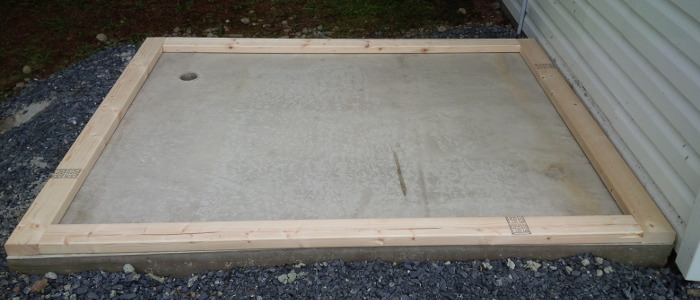
First I started with the form work to set up the pad. A layer of gravel went down (along with a chunk of old concrete from my lift installation demo work) as a base, then wooden forms to define the pad. Rebar and wire mesh went in as well.
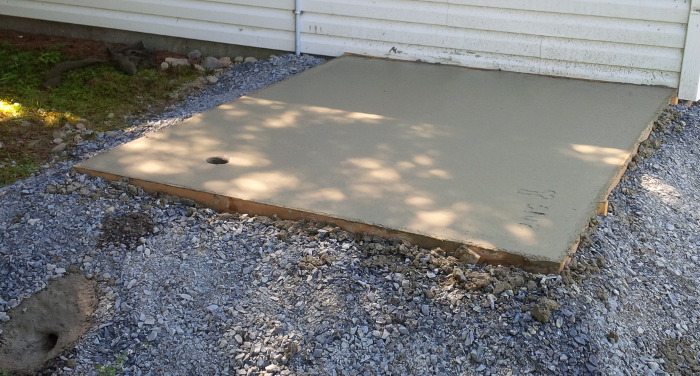
No way was I mixing that concrete myself, so I had concrete trucked in. A pipe was buried to act as a water drain.
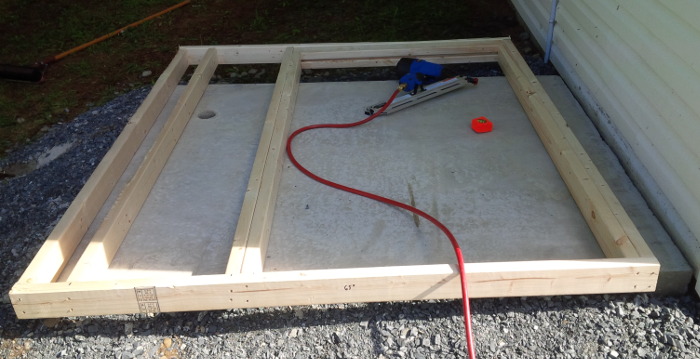
Next was the footings for the walls. These probably should have been pressure-treated.
Then the walls were framed. Nailguns are definately your friend.
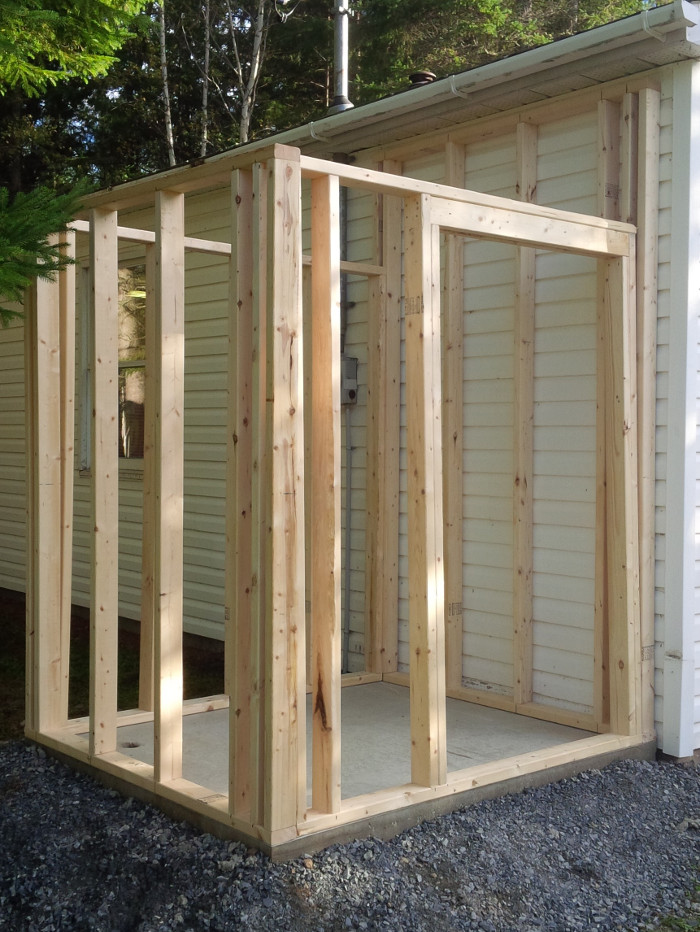
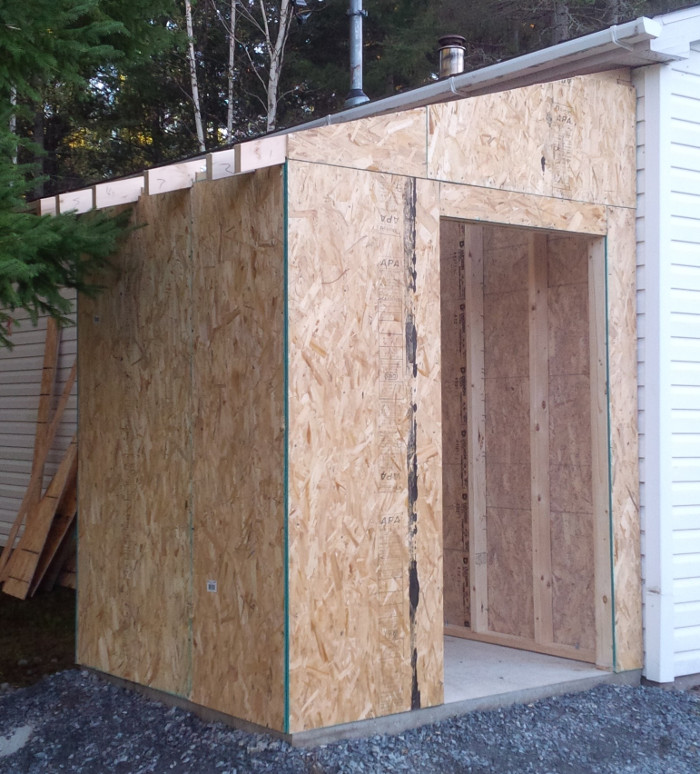
A quick test fit to check the walls out.
Then the walls are nailed in place, headers installed, and skinned with fiberboard. The exterior facing the shop wall got a coat of Thompson's Water Seal too.
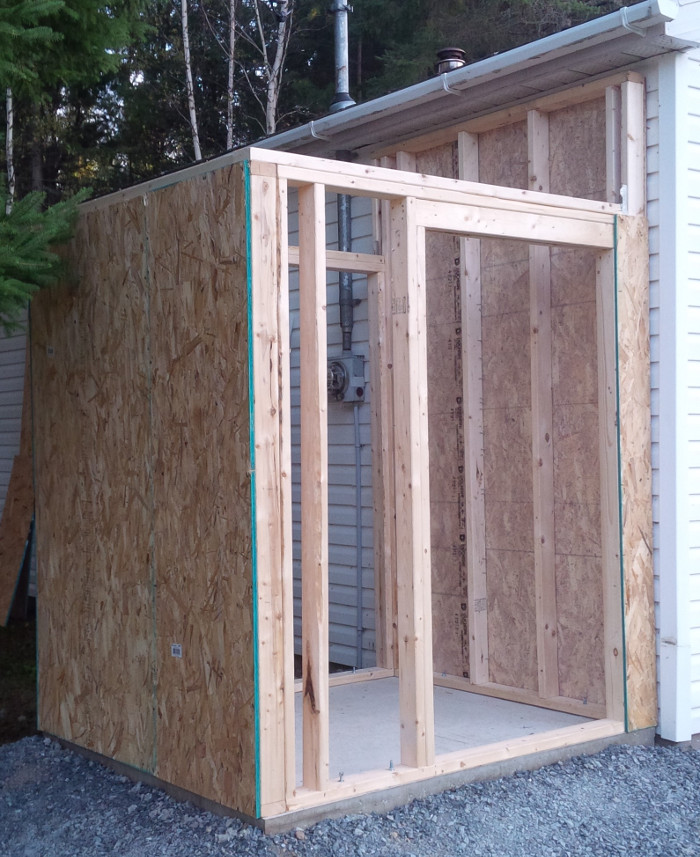
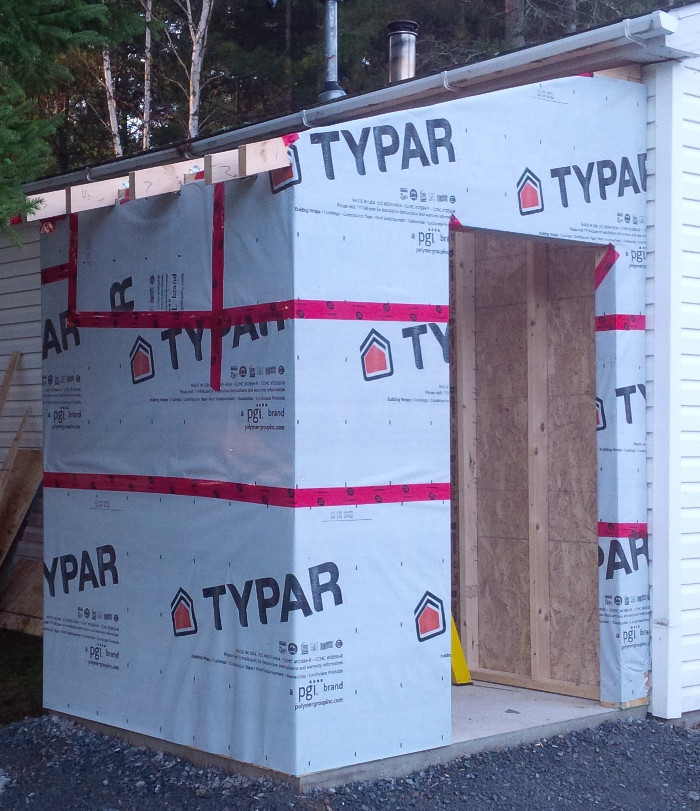
All skinned up! Time for house wrap.
That might seem like overkill for a shed, but it will be insulated & heated to prevent the tank from freezing in the winter.
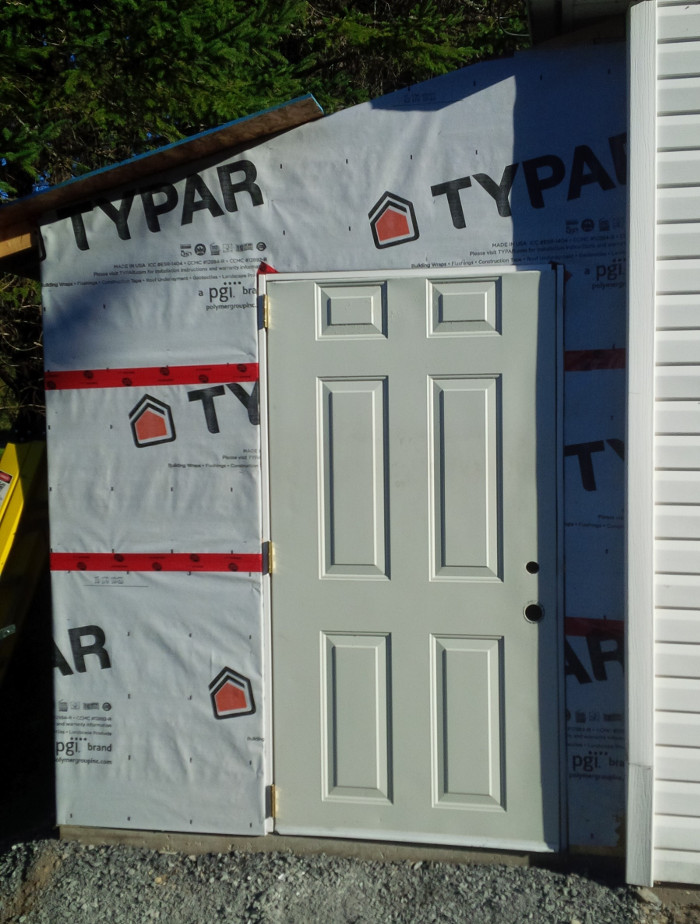
Next to go in was the door. I found a used one on Kijiji for a song. It wound up having to be cut down, as the slope of the roof defines the wall height.
Roofing was next. Typar, then roofing felt, then shingles, nailed down with stainless roofing nails. Roofing nailer makes the job go quick.
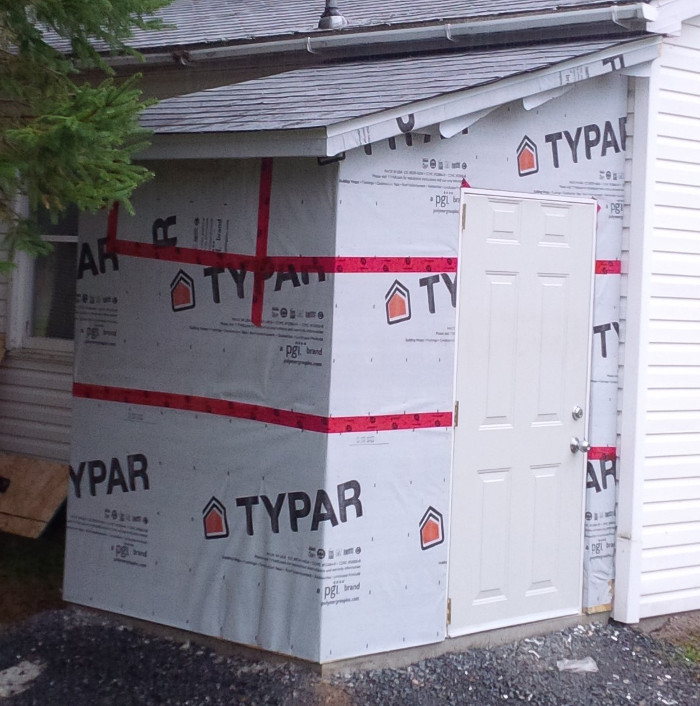
Vinyl siding to match the shop. Note the lining up of panels with the lines on the shop wall.
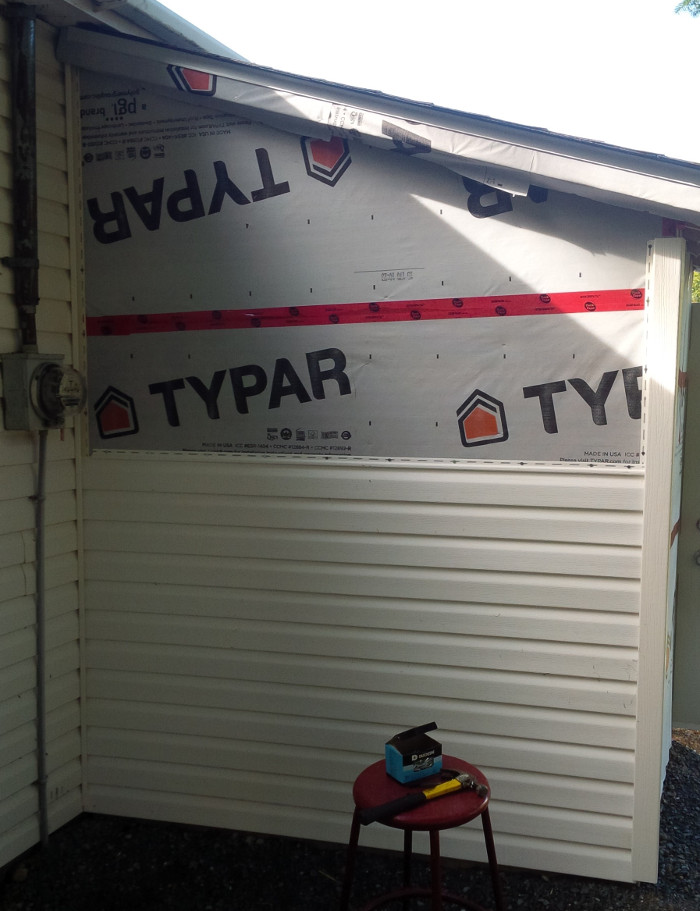
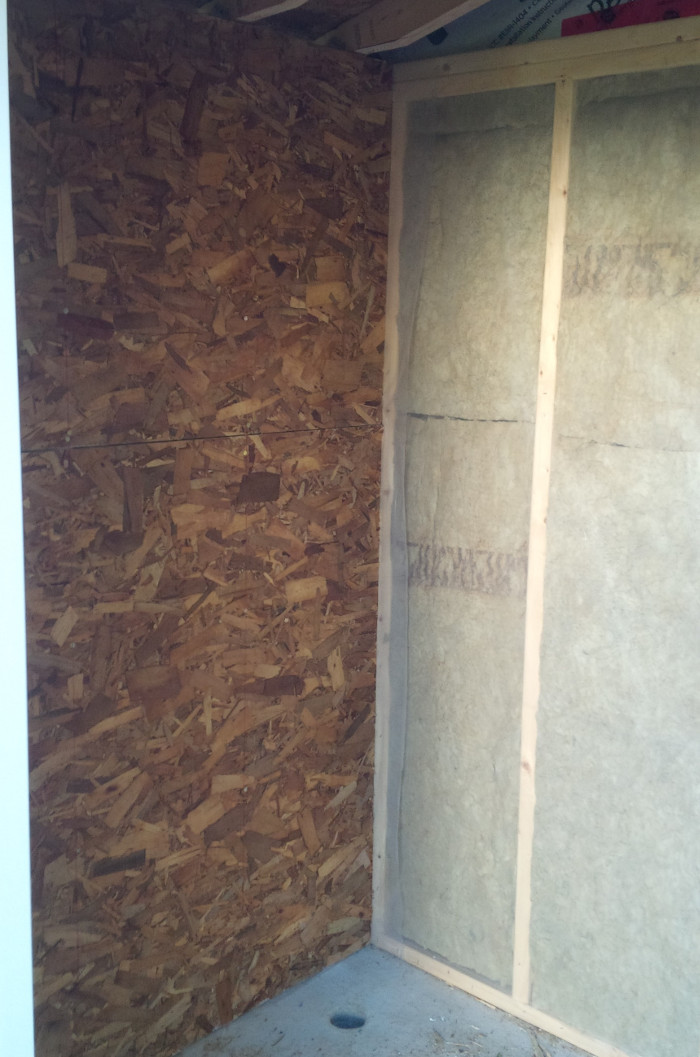
Inside, vapor barrier, Safe&Sound soundproofing Roxul insulation, and more thick fiberboard.
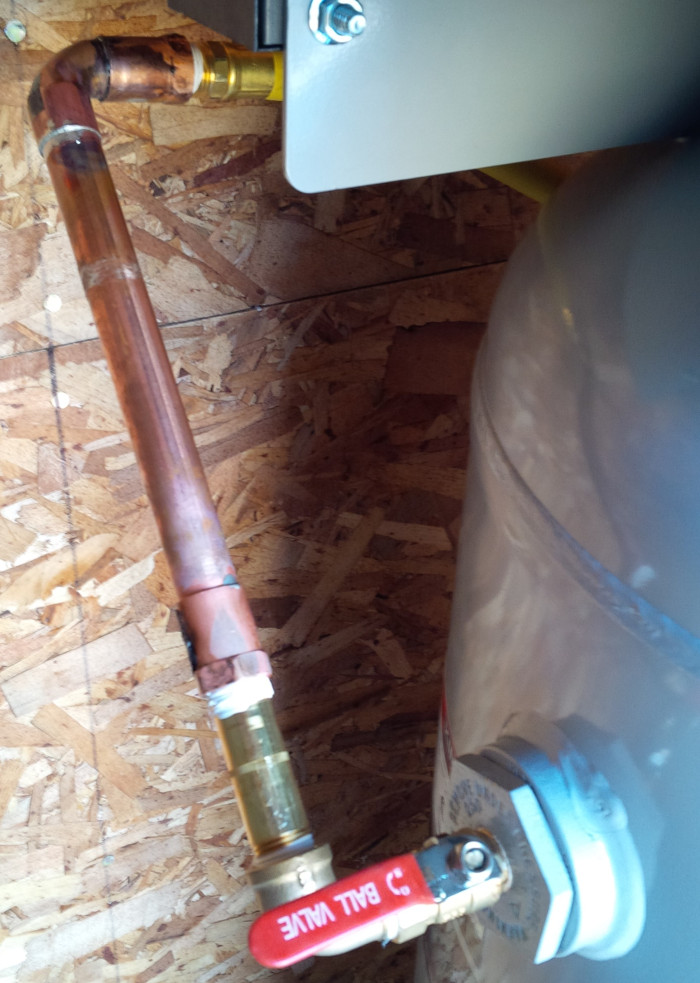
Holes drilled through the walls for 220V power, 110V power, and shop air. Armoured cable protects wiring, and a rubber hose between the copper air line and the compressor isolates vibration.

A shutoff on the tank, and another inside the shop.
The drain cock on the underside of the tank was replaced with this ball valve, located where I can actually reach it.
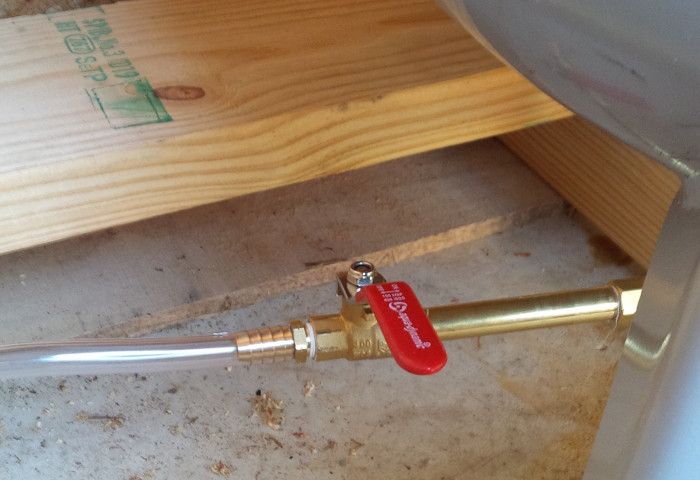
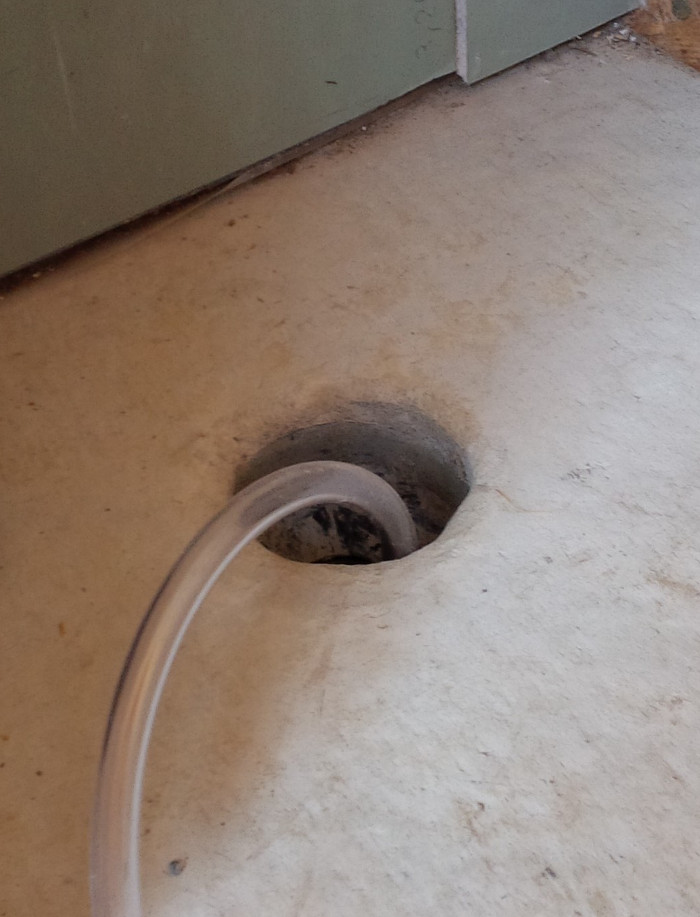
From the drain, water is routed through the pipe in the pad, safely blowing any water (and any squirrels who took up residence) outside the shed. No mess for draining!
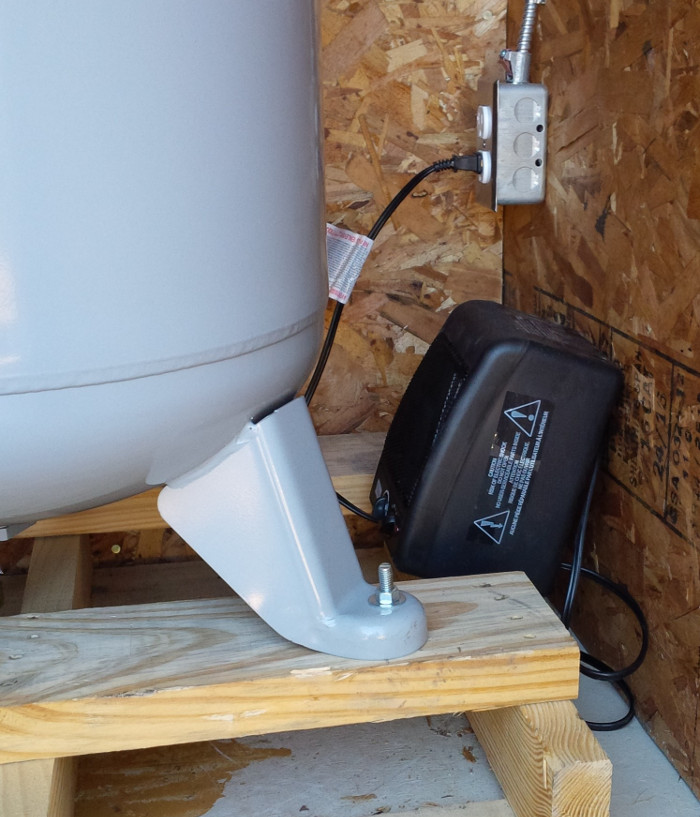
A small space heater keeps inside temps above freezing.
The completed shed blends in nicely with the rest of the shop, and it is soundproofed enough so that you cannot hear a running compressor more than a couple of meters away.