Injector Dynamics Injectors and New Wiring Harness
One of the persistant troubles I have been having is sorting out fueling. Moving up to 13G turbos meant we ran out of injector, the off-the-shelf AEM EMS calibration of the OEM MAF ran out of flow resolution, and the DSM 450cc injectors I installed turned out to be in far worse shape than I had anticipated.
It is time to fix these problems for once and for all.
On the injector side, it's a given that the DSM injectors are coming out and new injectors are going in. But which ones?
On the Talon, we used RC Engineering injectors and they worked fine. RC injectors are plug-and-play, use the OEM resistor pack, and are flow-matched at static flow rates. That's a decent choice.
But those injectors are 1990s technology, and like all injectors from that era, they suffer from variability at low pulsewidths. This is the problem that makes ECU tuners pull their hair out when tuning things like idle, part-throttle drivability, and emissions: the injectors may be perfectly matched at 100% duty cycle, but at (say) 25% duty cycle, the match no longer holds. And at very low duty cycles, it isn't a sure thing that a reduction in pulsewidth will actually result in a reduction in flow - or that the step in fuel delivery scales to the step in the pulse reduction. Down in the low pulswidth sections, old-skool injectors can be very nonlinear.
It is this nonlinearity and potential flow mismatch at low pulsewidths that makes getting a really solid, emissions-capable street tune such a challenge.
This problem gets even worse as injectors get larger. Larger injectors flow more fuel per millisecond, so small errors in injector open time are magnified at low pulsewidths. A little extra fuel is no big deal when you are running the injector nearly flat out, but at idle or part throttle, wanting 3 ms of fuel and getting 5 ms worth is a major error. This is the reason why large injectors have such a reputation for poor idle and street drivability.
What is really needed are injectors that are strictly linear throughout their entire operating range, and which are flow matched to each other through the entire operating range. If you have these - problem solved. And yes, this problem mirrors the problems I had with aftermarket shocks and the reason why I started building and selling shocks that had been matched on the dyno.
Enter Injector Dynamics. These gentlemen make an injector that is linear all the way through the operating range and they match the entire flow curve, not just static flow. While I've never met any of them, I've seen the inside of their shop on a YouTube video and the comparison with the way I did shock work is staggering. These guys do injectors the way I did shocks. The language is the same, the methodology is the same... it was like looking in a mirror. So OK, I'm going to give these guys a try.
Of course, nothing is ever easy. While you can buy ID injectors that are mechanically plug and play with the Stealth, they use a different electrical connector than the OEM injectors and they don't work with the OEM resistor pack. That means fabricating new wiring harnesses and removing the resistor pack from the system.
Harness Design
First, the design of the harnesses. If I'm going to do harnesses, I'm going to do it right. That means Tefzel wire, DR25 heat shrink, and Raychem molded boots. It means keeping the OEM wiring color scheme, and using OEM connectors for sub-harnesses.
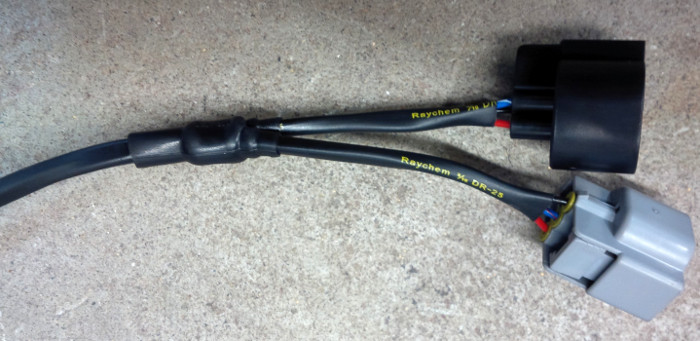
There are two harnesses that have to be fabricated. The first is the sub-harness for the rear bank:
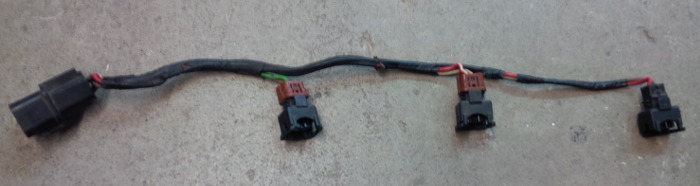
This harness is straightforward - a 6-pin OEM plug, into 6 wires, 2 per injector.
The front harness is considerably more complicated. Firstly, it is wired directly into the main harness, not joined via a connector. Secondly, it contains not just the injector wiring, but also the wiring for the crank position sensor, cam angle sensor, and the front bank O2 sensor (the latter is unneeded as I'm using a dual wideband controller that has its own wiring).
So we have to cut into the main harness, splice in a proper connector, and rebuild the sub-harness with all the proper wire colours and connectors.
The CAD drawing is here that shows the resdesigned harnesses.
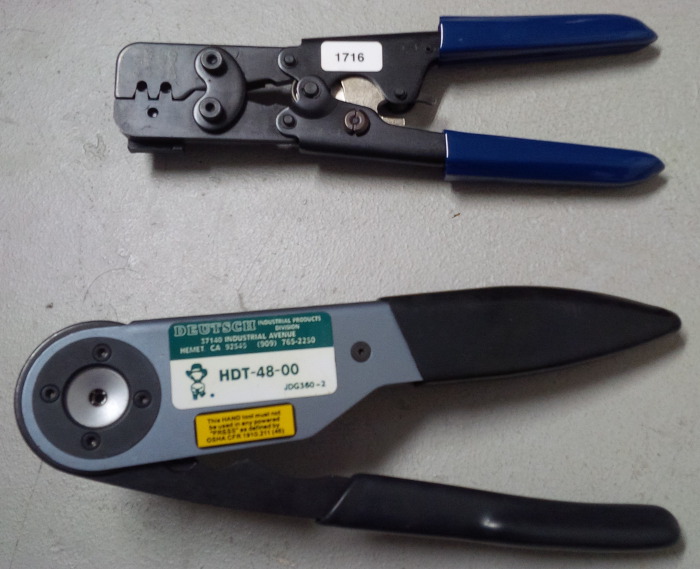
Of course, to do this right, you need the proper tooling. You think machine tools are expensive? Try getting proper electrical crimpers! The top one is for the injector connectors and the bottom one is for the Deutch DTM connectors.
Thank Lob for eBay. Those Deutch crimpers can go for several hundred clams.
And while we're at it, milspec wire doesn't play well with normal wire strippers either. The insulation on the wire is very tough and very thin. Automotive-quality strippers have a very hard time stripping off the insulation without nicking the wire or the insulation upstream from the stripped section. The proper strippers are exactly sized to milspec wire and grips the wire via an abrasive pad so the insulation can't get nicked.
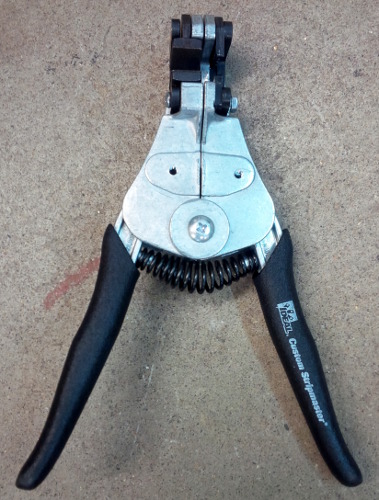
And of course, like all things milspec, they cost a friggin' fortune. Again, eBay is your friend.
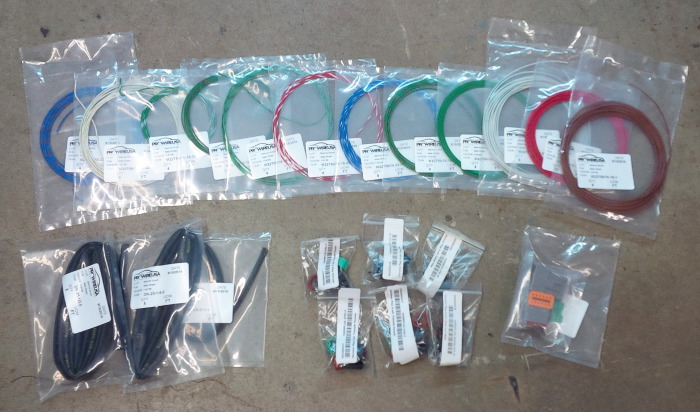
Here's some harness building supplies. MilSpec wire, DR-25 heat shrink, and new connectors all around:
Time to start building that rear injector harness. First we crimp the pins:
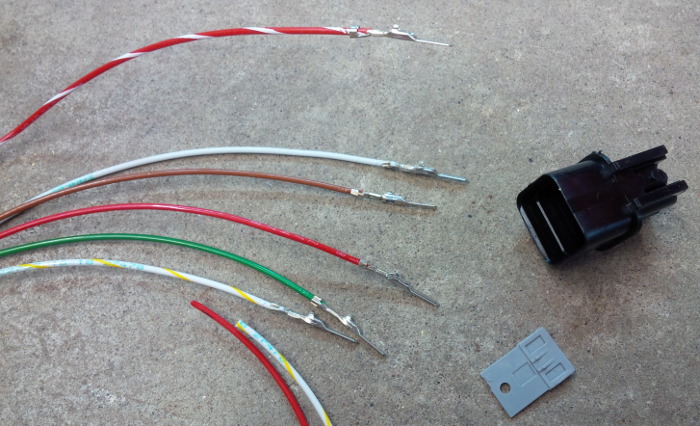
Then the wires get plugged into the connectors. Note that I am preserving the OEM color scheme!
Next up is the DR-25 heat shrink. Keeping the lettering aligned makes things look pro!
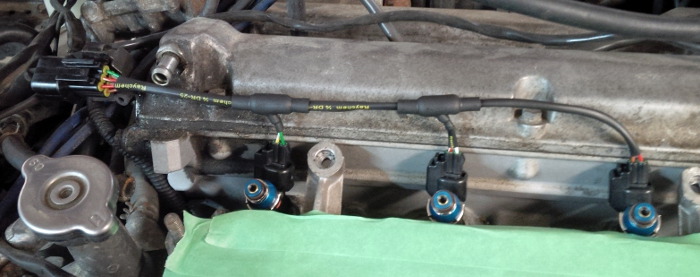
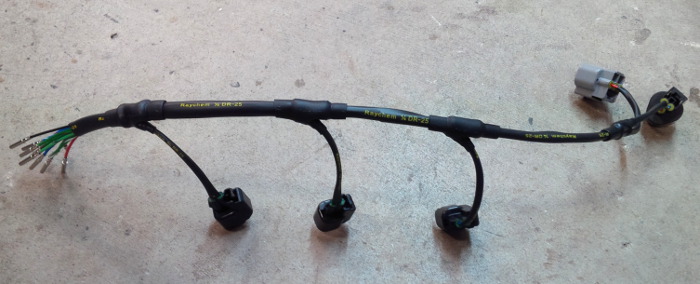
Add injector connectors, some Raychem molded transitions, and a little more DR-25, and we get the finished product:
A quick test fit, and this part is done!
The front harness is trickier. Unlike the rear harness - which has a factory-supplied plug - the front harness is actually a wired-in extension of the main engine harness. This means either splicing the new injector connectors into the old wiring, or re-doing the wiring and inserting a new connector to join the new sub-harness to the main harness.
I elected to built a whole new sub-harness with a plug to join it.
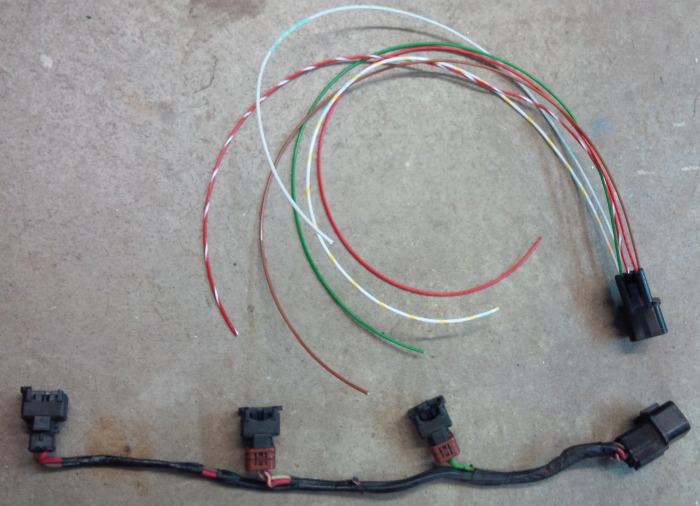
First we tease apart the old harness to see what we have.
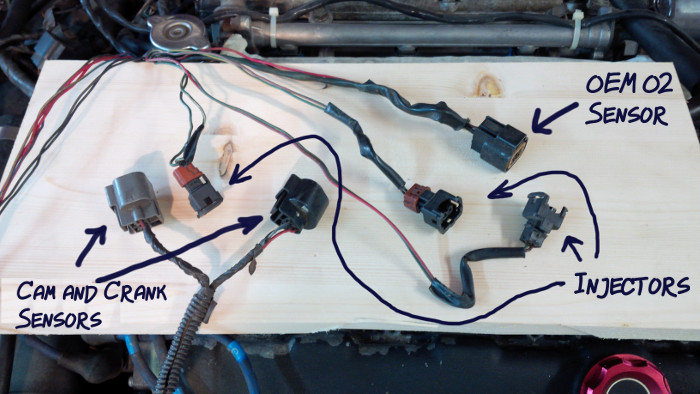
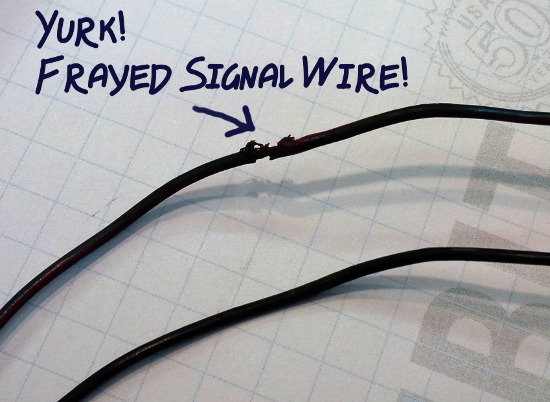
Suprise! Upon peeling back the harness cover, there were a bunch of nicks and frayed spots in the harness. This one was in the cam sensor signal wire - how much weirdness has been going on because of this I wonder?
This inspection validated the decision to rebuild the harness. It also confirmed the wiring diagram. I don't use the OEM O2 sensor, so that connector can be deleted. Then we have 3 wires for the cam sensor (power, ground, and signal), 3 wires for the crank sensor (power, ground, and signal), and 2 wires for each injector - so 12 wires total.
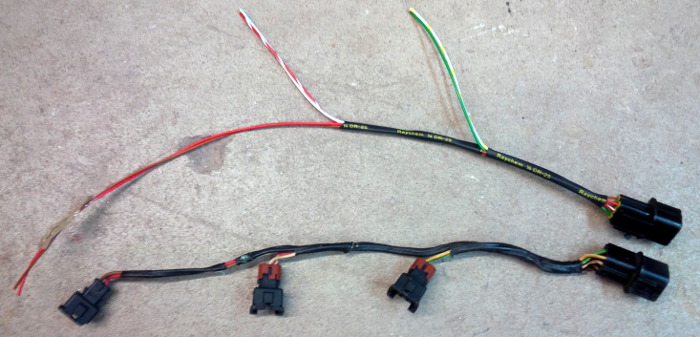
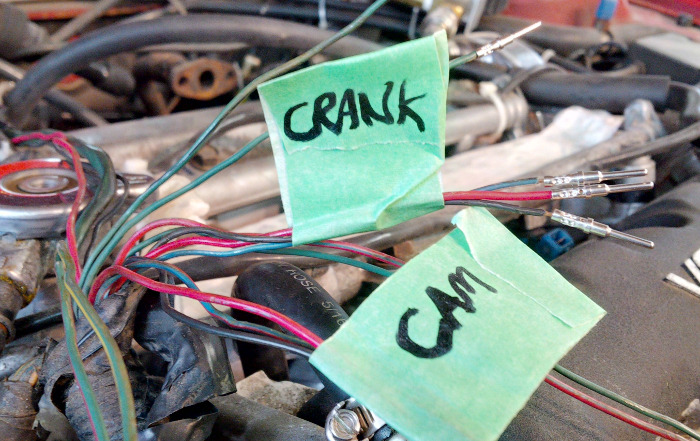
First we build the cam and crank sensor wires and plugs. Here's what that looks like before assembly:
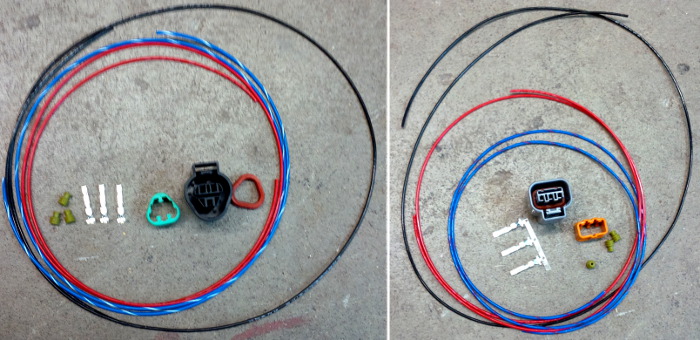
And now after crimping, assembly, and heat shrink.
So pretty....
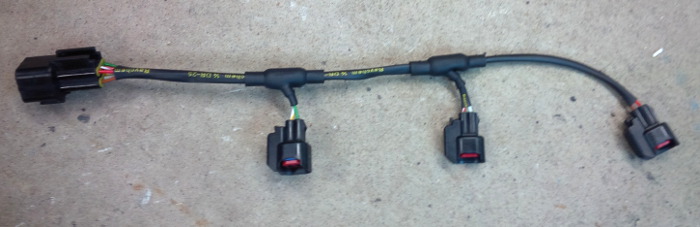
Injector plugs crimped on, all wires heat shrunk, and all breakouts sealed via molded transitions. Deutch DTM socket pins crimped too. All I have to do is plug the pins into the connector shell, and we're done - except that I'm going to verify continuity on every single wire first, so I can verify that everything works and I know where every pin goes.
For the sub-harness connector, I'm using a Deutsch DTM series connector. DTM is a step between entry level automotive connectors like Weatherpak, but a step below the high-density (but super high dollar) Deutsch Motorsports connectors. You get weather sealing, heat & oil resistance, and reasonably high connector density, but the shell is a lot bulkier than a motorsports connector.
They also assemble really easily IF you have the right crimper. Thank you eBay!
So we start slicing into the OEM harness and crimping pins.
And with the pins in place and the harness heat-shrunk, the we're ready to plug in the sub-harness.
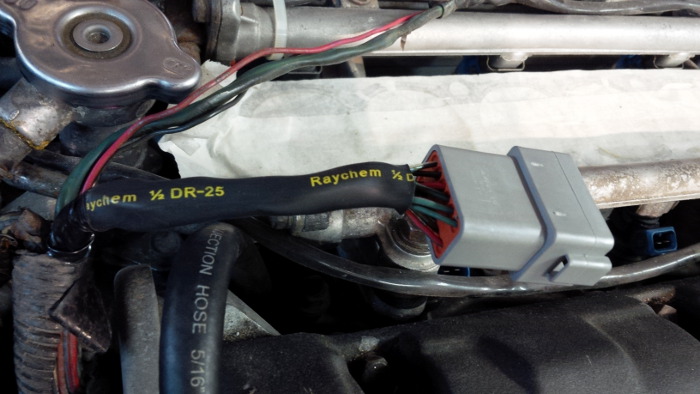
To be continued...
Injectors
Meanwhile, here are the ID 725 injectors unboxed:
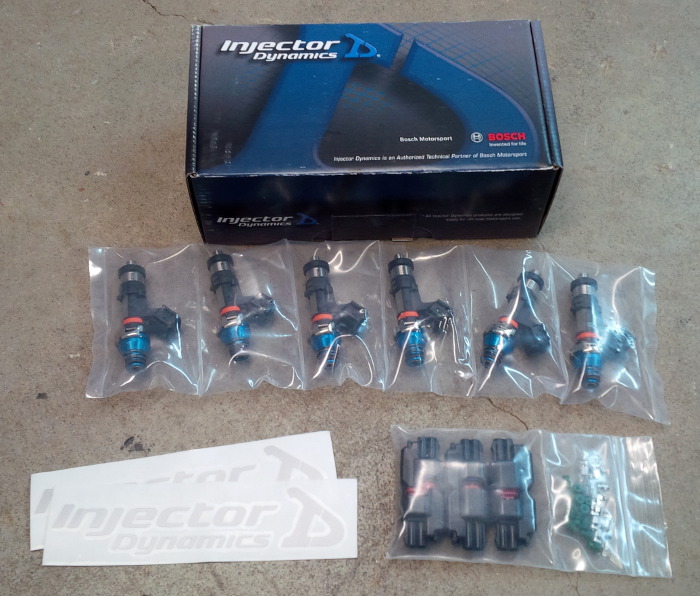
They look very impressive from a flow matching perspective.
As mentioned earlier, these injectors don't use the standard injector connectors. Instead, they use the new USCAR plugs. ID provides plugs & pins for building on to the harness.
Using the proper crimp tool is sooooo nice. Strip the wire, slide on the sillicone seal, place the pin over the wire and seal, put it into the crimper, and zzzzip-click! you get a perfect crimp in a single motion. The pins click into the connector, press down the locking clip, and you have a factory-new connection every bit as good as OEM.
The old injectors come out:
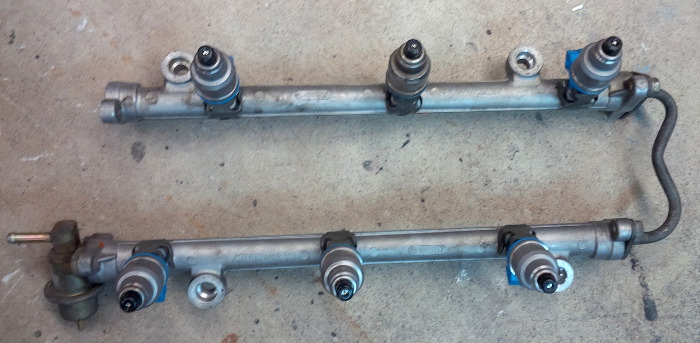
And new injectors go in:
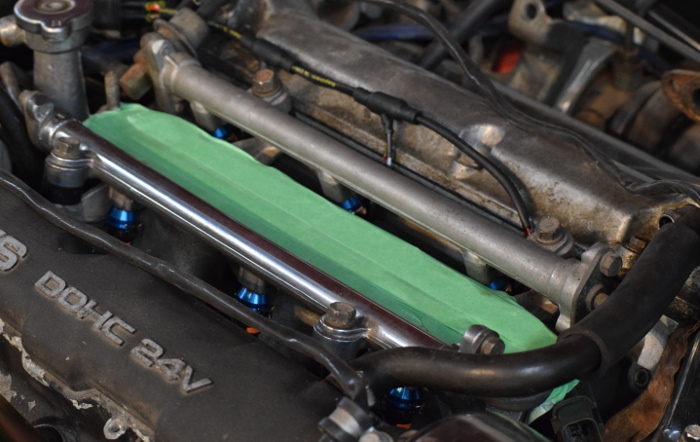
You can't use the OEM injector retaining clips to hold the injectors to the rail while you install them. Instead, you place all the injectors, lower the rails over top of them, and wiggle everything until it lines up. It's tricky, but not tedious.
Resistor Pack Eliminator
The OEM ECU - and my AEM EMS - expect the injectors to be high-impedance. But for whatever reason, Mitubishi chose to install low-impedance injectors in the car (they did the same on the Talon too). In order to convert low-impedance to high-impedance injectors, you need to put a resistance in serial with the injectors. On the Stealth, those resistors come in a pack that looks like this:
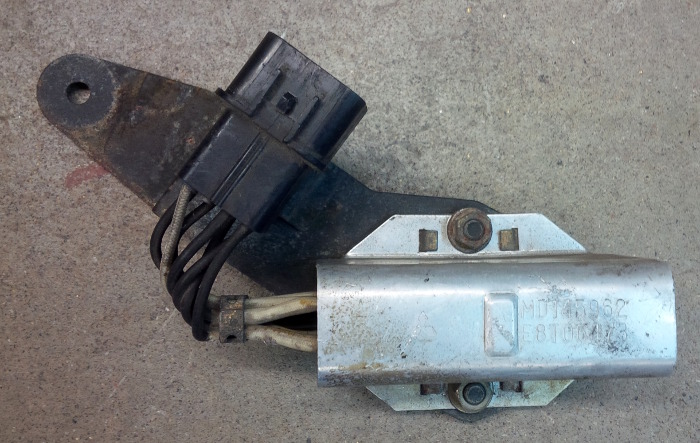
The wiring is pretty simple - 12V into the pack, split to six resistors, then back out through the 8-pin plug.
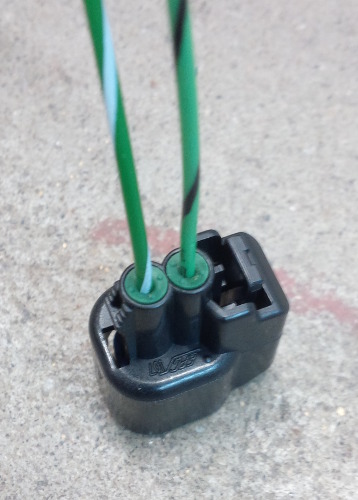
The ID injectors are natively high-impedance, so we need to get rid of the injector pack. That means tying all the wires in the plug together, like this:
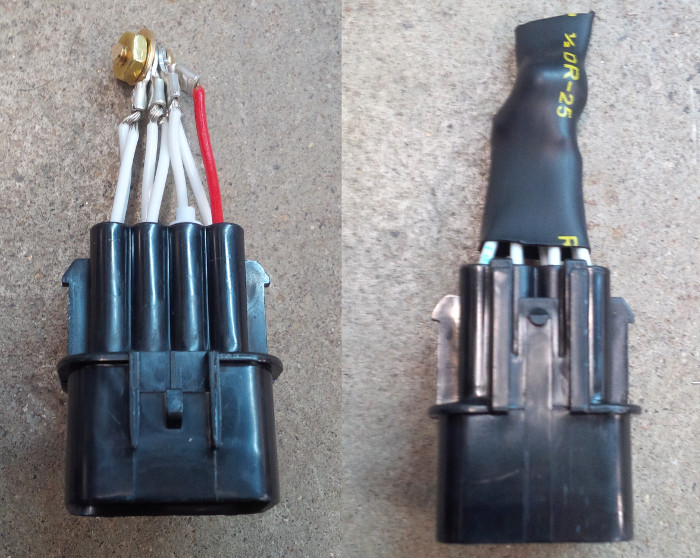
That leaves us with an ugly "tail" sticking off the harness. We can do better, via the magic of 3D printing.
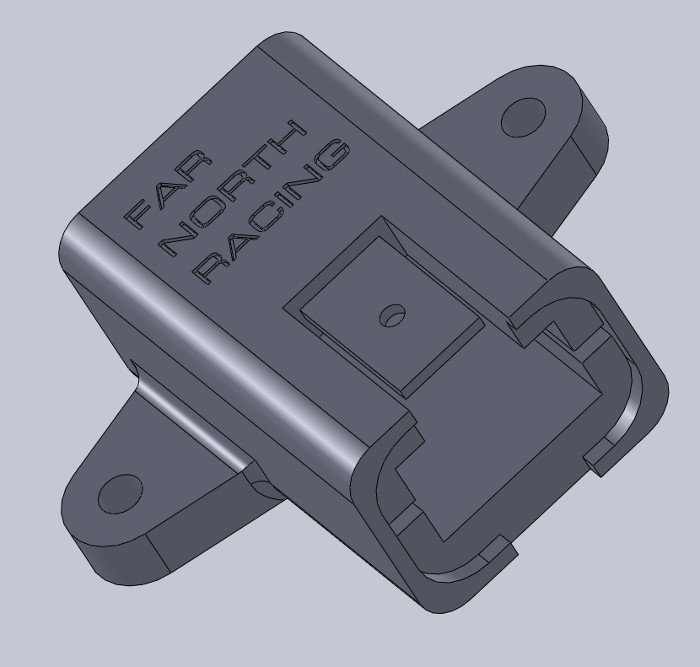
Model up the part in Solidworks, send the file to
There's a couple of things that need to be tweaked - switch to glossy plastic, move the lock tab hole slightly, open up the flange relief a little bit - but this works!

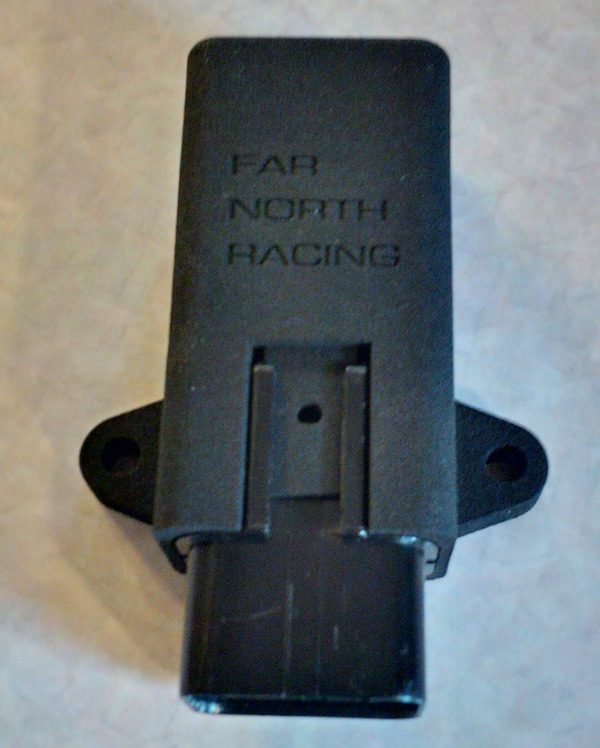
Here's the final version, modified so the connector fits properly, mounted on an aluminum plate (soon to be anodized) using titanium fasteners. This fits in the OEM location for the resistor pack.
If you want to order your own you can buy it here
